
Common Mistakes When Hanging a Pendant Light
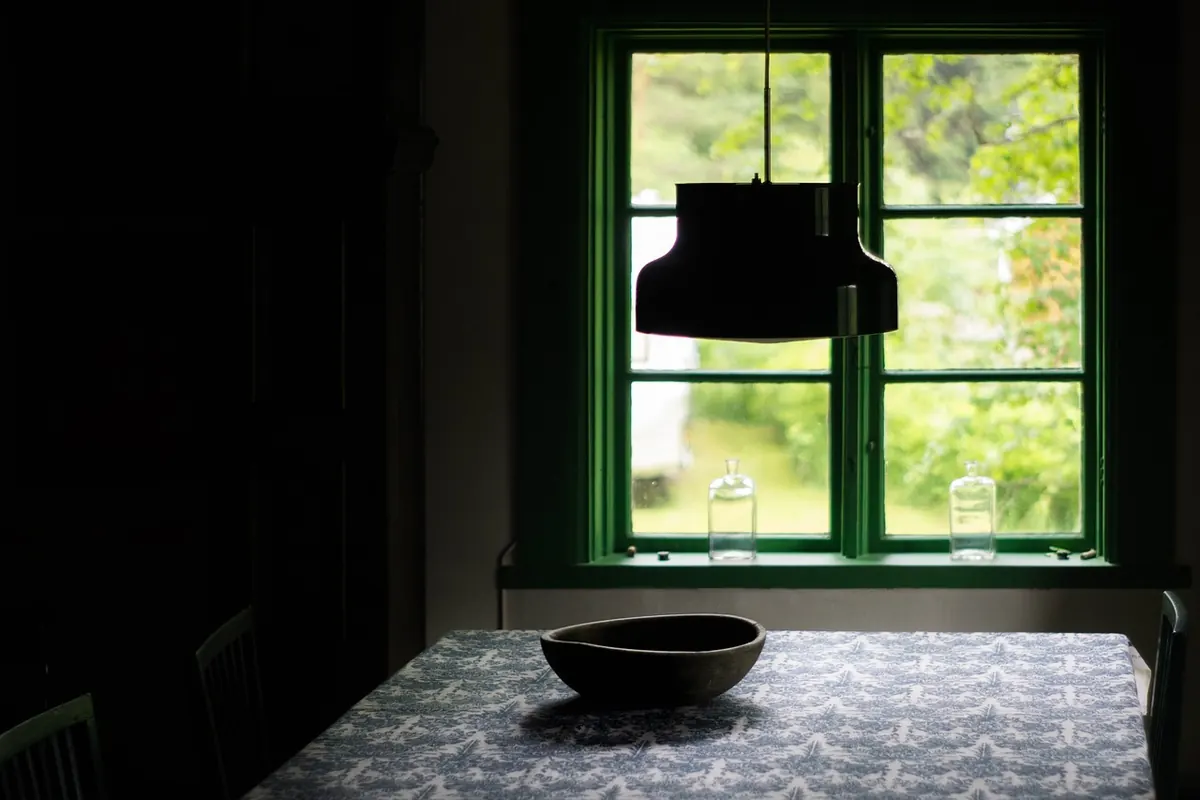
A pendant light has two jobs at once. It is the light you actually sit under, and it is an object sitting in the middle of the room. Get the height and the shade right and it frames a table beautifully. Get them wrong and you will spend the next few years ducking under it, or wondering why a fitting that looked lovely in the shop feels oddly mean at home. Most of the complaints about pendants — harsh glare, a shade that looks too small, a dining table that stays gloomy — come down to how the light was hung rather than what was bought.
Getting the drop height wrong
This is the mistake that causes the most regret, because it is the hardest to undo. A pendant hung too high becomes a glowing blob near the ceiling that lights nothing in particular. Hung too low, it blocks sightlines across the table and turns dinner into a slalom.
Over a dining table, a good starting point is a gap of roughly 75–85cm between the bottom of the shade and the table top. Over a kitchen island or worktop, aim a little higher, nearer 80–90cm above the surface. Treat both as starting points rather than rules, then adjust for how the room is used.
Three things should push you up or down from there:
- Ceiling height. In a room with a low ceiling, the shade needs to be shallower and the drop shorter, or the fitting will dominate the space. In a tall room, a longer drop brings light back down to where people are.
- Seating. If people sit at the island on stools, measure where their eyeline falls when seated and keep the shade above it. Nobody wants to stare into a bulb while eating breakfast.
- How intimate you want it. A lower shade with a warm, dimmed bulb feels closer and more sociable. Raise it if you need a clear view across the table, or if the table is often used for working.
Centring the pendant over the room instead of the table
A pendant belongs over the table or the island, not in the middle of the ceiling. Those two points are rarely the same, especially in a room with an extension, a bay window or an awkward chimney breast.
Measure the table or island and mark its centre on the ceiling. If the table is likely to move, hang the light over where the table usually sits rather than where it happens to be today. For a long table or a large island, a linear bar or a row of pendants copes far better than one heavy central shade, and it gives you flexibility if the layout changes later.
Multiple pendants: spacing and alignment
A row of three small pendants often works better over an island than one large one, but the spacing matters as much as the lights themselves. Space them evenly, and let the gap between the shades sit somewhere close to the width of one shade — tight enough to read as a group, loose enough that each one has presence.
Leave a generous margin at each end rather than pushing shades to the edge of the surface. And check alignment from both directions: stand at the doorway and look along the row, then stand at the side and check the shades hang at the same height. A 1cm difference is noticeable when there are three of them.
Bulb glare and harsh light
Glare is the most common reason a well-hung pendant still feels uncomfortable. It almost always comes from a bulb sitting low in an open shade, in direct view of anyone seated at the table.
Fixes that cost very little:
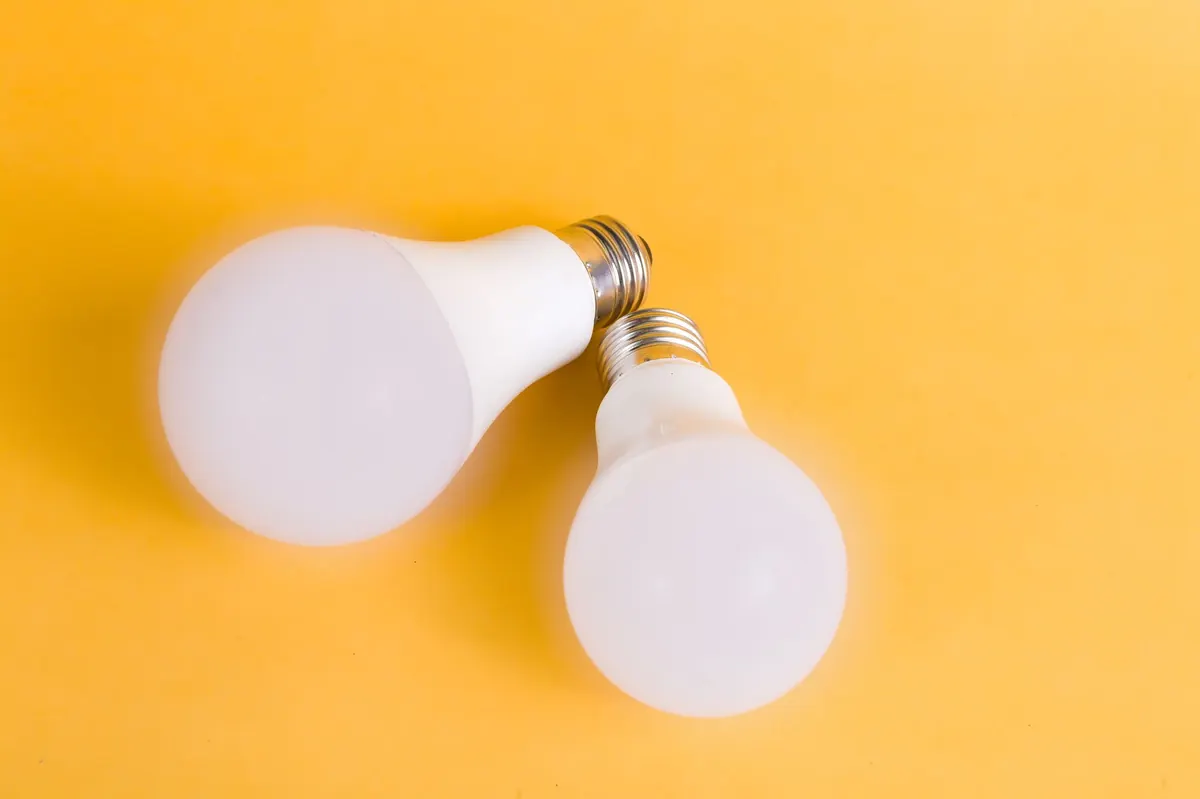
- Swap a clear bulb for a frosted or opal one. You lose the visible filament, gain a soft, even glow.
- Choose a warm colour temperature for dining and living spaces — around 2700K sits comfortably with most interiors. Cool white belongs in utility areas, not over a table where you eat.
- Lower the bulb within the shade, or add a diffuser, so the light is thrown downwards and outwards rather than straight into someone's eyes.
- Buy dimmable bulbs and a compatible dimmer. Pendants used at full brightness all evening are rarely the most pleasant ones.
A pendant you never dim is a pendant that only ever does half its job.
Choosing a shade that is the wrong size for the space
A shade that is too small disappears. A shade that is too large crowds the table and blocks the view. As a rough guide, the shade — or the combined width of several shades — should fill a decent portion of the table's width without reaching the edges. Over a narrow table, a 30–35cm shade usually reads well; a wide table can carry something nearer 45–50cm, or a pair of smaller shades.
Shape matters too. Wide, shallow shades spread light outwards and feel generous. Tall, narrow shades push light straight down and suit task lighting over a worktop. Fabric shades give a soft, diffuse glow but can swallow the downward light if the bulb sits deep inside, so check how they look switched on, not just how they look in daylight.
Finally, weigh the fitting before you commit. A heavy shade on a flimsy ceiling rose, or on plasterboard with no joist behind it, is a problem waiting to happen.
A quick check before you drill
Once you have a height in mind, test it cheaply. Cut a piece of card to the shade's diameter, tape it to the ceiling on a length of string at your chosen drop, and live with it for an evening. Sit at the table. Stand in the doorway. Look at it with the room lights off.
Then, before any drilling: switch off the circuit at the consumer unit and confirm it is dead with a tester, find the joist or use a fixing rated for the weight, and check whether the existing wiring and ceiling rose can take the new fitting. Anything beyond swapping a shade — new cable runs, extra pendants, moving a supply — is a job for a qualified electrician. It is far cheaper than repairing a ceiling, and you will only have to get the height right once.
Photo: StockSnap / Pixabay