

Seasonal Guide: Layering Outdoor Lights for Autumn Evenings
By early October the garden has quietly changed hands. The table you sat at until ten o'clock in July is now a dark shape behind the kitchen window, and the last of the daylight has gone before you have finished clearing the plates. Autumn evenings are not a reason to abandon the garden. They are the reason to light it properly.
Layering is the difference between one glaring floodlight and a garden that still invites you out. Three modest sources at different heights will do more than a single bright one, and they are far easier to live with. Here is how to build those layers with path, wall and string lights before the nights draw in properly.
The three layers, and why they work
Think of the garden as three horizontal planes. The ground carries path lights and low border fittings. The middle is made up of walls, fences, steps and planters. The overhead plane belongs to string lights and the branches or pergola beams they hang from.
Light in one plane reads flat. The eye has nothing to compare it with, so the garden looks like a photograph taken with the flash on. Light all three, even faintly, and you get depth, shadow and a sense of somewhere worth stepping into. The layers do not need to be equal. A warmly lit path and a soft wash across a fence will often be enough on their own.
If you can see the bulb itself, you have lit the fitting rather than the garden. Conceal the source, and light what sits in front of it.
Layer one: paths and borders at ground level
Start at the ground, because that is where feet go. A path that is lit properly does two jobs: it shows people where to walk, and it draws the eye away from the blackness beyond.
Spike lights pushed into a border work well, angled slightly towards the path rather than straight up. Space them roughly every 1.5 to 2 metres and stagger them rather than lining them up like runway markers — a little irregularity looks natural. Bollard lights suit a straight approach or a step down to a patio, where their shielded glare is less likely to catch you in the eye.
- Choose shielded or downward-facing fittings so the light lands on the ground, not in your face.
- Stick to warm white, around 2700K. Cool white looks clinical outdoors after dark, and it kills the autumn mood instantly.
- Consider solar only where it gets real sun. Panels need several hours of direct light to store enough for a long evening, and by November many gardens no longer offer that. Mains low-voltage kits are more reliable through winter.
- Keep it low. Path lights are for guidance, not illumination. You are aiming for pools of light, not daylight.
Layer two: walls, fences and steps
The middle layer is the one most gardens miss, and it is where the atmosphere comes from. Wall lanterns either side of a back door frame the exit and give you a focal point. Two smaller fittings usually look better than one large one, provided they are spaced evenly and set at the same height.
Beyond the door, think about surfaces. A small uplighter tucked behind a shrub will throw soft, dappled light up a fence or a house wall, turning a plain panel into a backdrop. Step lights set into a riser make a change of level obvious without lighting the whole patio. If you have a planter near a seating area, a single low fitting behind it will do more for the space than a spotlight aimed at the table.
Light where it lands, not where it leaves
Check your angles from the neighbour's side as well as your own. A fitting aimed along a fence or across a lawn will be far less intrusive than one pointing outward, and you will avoid lighting a bedroom window you never intended to. For exposed spots, look for fittings rated IP65 or above; IP44 is generally fine under a porch or an overhang. Waterproof ratings are about the fitting, not the plug or the connection, so the joints still need care.
Layer three: string lights overhead
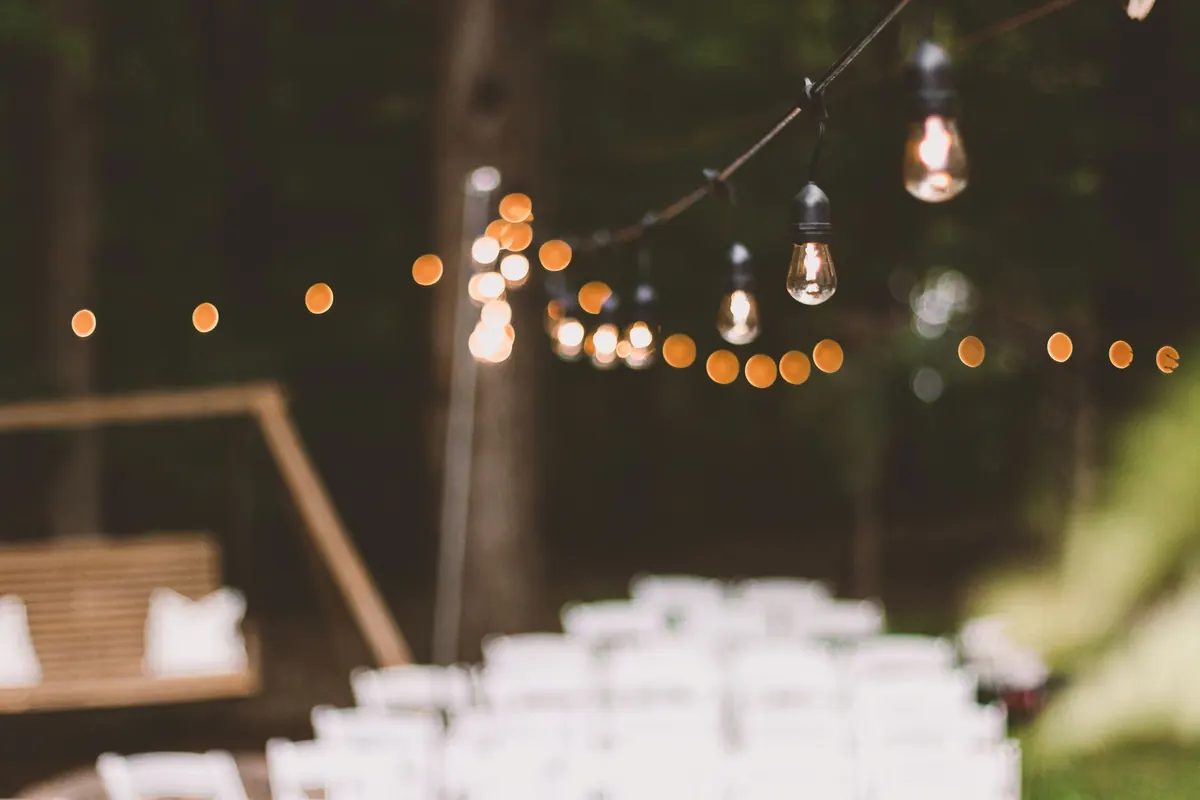
String lights, or festoon lights, do the thing the other layers cannot: they define a room outdoors. Run a set along a fence top, through a pergola, across a branch or around a parasol, and the space beneath suddenly feels enclosed and deliberate.
Hang them at around 2.2 to 2.5 metres so nobody walks into them, and give them a gentle, even sag. Nothing looks worse than a cable pulled drum-tight. Use screw hooks, vine eyes or a tension wire fixed to a solid structure, and never hang weight from a cable that was not designed for it. Warm white filament-style LEDs in glass or plastic look best; reserve coloured sets for parties.
Length adds up quickly when you start weaving through branches, so measure the run before ordering. If you are using several connectable sets on one plug, stay within the manufacturer's stated maximum and keep the plug itself indoors or in a properly sealed outdoor enclosure.
Warmth, brightness and control
The single detail that makes a layered garden look considered rather than improvised is consistency. Keep every fitting to one colour temperature, ideally somewhere between 2200K and 2700K. Mixing a warm lantern with a cool-white spotlight is the fastest way to make good fittings look cheap.
Brightness matters less than contrast. Dimming a layer or two lets the others stand out, and a garden at half brightness usually looks better than one at full. If your fittings are not dimmable, split them across two plugs so you can switch the overhead layer off and leave the path lit.
Finally, run the lights at least once in daylight before you commit to a layout. Moving a spike light two feet to the left is easy at three in the afternoon and tedious at nine at night.
Timers, cables and staying on the right side of safe
Outdoor lights are useless if you have to remember to switch them on. A plug-in timer or a smart plug set to come on at dusk will do more for how often you actually use the garden than any upgrade to the fittings themselves.
- Group your circuits by layer: path on one, wall lights on another, string lights on a third.
- Add a timer or smart plug to each, staggered by fifteen minutes so the garden comes to life gradually.
- Route cable along walls and under gravel or edging where possible, and keep connections off the ground and out of standing water.
- Use an RCD-protected outdoor socket for anything mains-powered, and check cables for damage after storms.
Any new mains wiring outdoors — a new socket, an armoured cable run, a permanent circuit for wall lights — is a job for a qualified electrician. Plug-in low-voltage kits and solar sets are the straightforward routes for most people, and they are perfectly capable of producing a garden that looks good from October through to March.
Putting it together this weekend
Start with the path, because it is the layer you will notice most. Add one wall light, or one uplighter behind a shrub, and stand back to see whether the garden now has a backdrop. Finish with a single run of string lights over the seating area, hung loosely and switched on before you tidy up. Then step outside without a torch, walk the route you would normally take, and adjust whatever catches your eye.
Two evenings of fiddling, a handful of warm white fittings and a timer will give you a garden that still works in the dark half of the year — and that is worth more than any amount of extra wattage.
Photo: Michael Morse / Pexels